Quick Start
Specify Vault 3 Folder
You'll need to specify a folder in which your Vault 3 documents will be stored. Click FILE to go to the File view. Then click the Browse button:

Then create a new folder or select an existing one:

Create a new Vault 3 Document
Click the "New" button in the File view to create a new Vault 3 document:

Using Vault 3 Files Created by the Desktop Version of Vault 3
If you use the desktop version of Vault 3, make sure to upgrade to at least version 0.39 of the desktop version. After upgrading to version 0.39 or later, be sure to open and save all your Vault 3 documents. Then the Vault 3 documents will be compatible with the Android version of Vault 3.
Adding Outline Items
After creating a new Vault 3 document, click the "Add Item" button to add the first item:
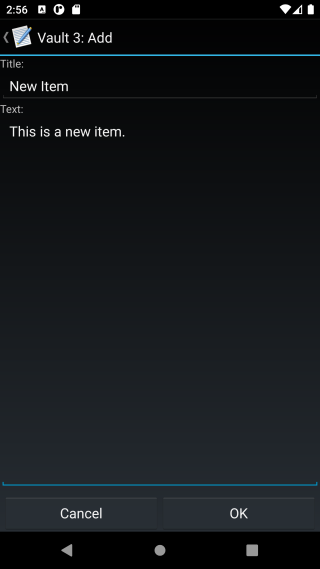
Adding an Outline Item
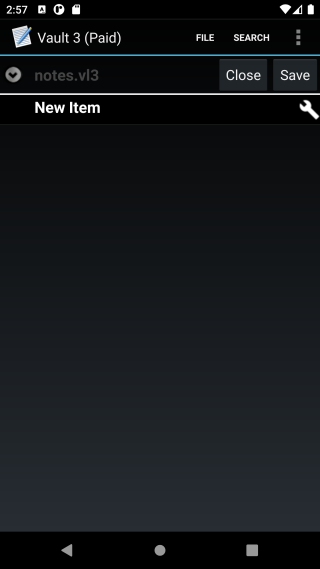
Enter the Title and Text, and press OK. The new item will appear in the outline:
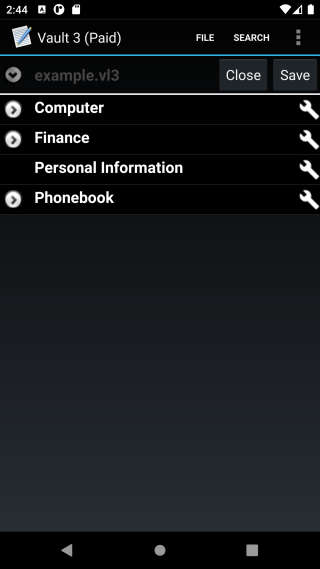
To add more items, click an outline item and keep pressing. This is called "long clicking". When you long-click an outline item, a menu will be displayed:

In addition to long-clicking an outline item, you can also click the wrench icon:

Wrench Icon
Click the "Add" menu to add a new item.

Use the radio button to specify that the new item will be inserted above or below the outline item that you long-clicked.

Editing Outline Items
To edit an outline item, click the Text icon to the far right of the outline item. After you click the Text icon the outline item's Title and Text will be displayed:


Editing
Click "Edit Title" or "Edit Text" to make your changes.

Editing
Saving Changes
Click "Save" to make changes permanent:
Save Changes
The permanent copies of all Vault 3 documents are stored in the folder you specified (see "Specify Vault Folder" above). When you open a Vault 3 document, a temporary document is created, and that temporary document is displayed and edited. When you click "Save Changes", the temporary document is copied to the permanent document.
Closing the current Vault 3 Document
Click the "Close" button to close the current Vault 3 document.